B2 Installation Guide
Introduction
The Biometric Signature ID (BSI) Building Block for Blackboard Learn 9.1 provides a mechanism to require a user/student to validate their identity when needed. This process is split between enrollment for the user to create their initial profile, and subsequent times when they need to validate themselves. Validating can be configured for three scenarios. Before a course can be opened, right after the “Begin Quiz” button is clicked, or as any other content item via adaptive release conditions.
The current (as of July 8th 2022):
-
Blackboard 3700.0 or newer use:
BioSig-ID Blackboard B2 v3.3700.0+newer.40v2
-
Blackboard v3700.0.10-rel.12+2ad3637
-
Blackboard v3800.17.0-rel.21+0b17a13
-
Blackboard v3900.44.0-rel.15+6dda17e
Hierarchy
Installation
The BSI Building Block is installed in the same way as any other Learn 9.1 Building Block. For example:
-
Login into Learn 9.1 as a System Administrator
-
Navigate to the list of installed tools:
a. Click on the "System Admin" tab
b. Click on the "Building Blocks" link inside the "Building Blocks" section
c. Click on the "Uploading Building Blocks" button
-
Browse to the Building Block war file and finalize the process with the
“Submit”
button
-
Locate the Biometric Signature ID Building Block in the list of Installed Tools and change its state from
“Inactive”
to
“Available”
in the Availability column
-
Click on the
“Approve”
button
-
Optionally you may change the state from
“Unavailable”
to
“Available”
in the Course/Org Default column
The building block is now available for use within Learn 9.1. To alter the availability of the building block within courses use the following:
-
Log into Learn 9.1 as a Systems Administrator
-
Navigate to the list of installed tools:
a. click on the "System Admin" tab
b. click on the "Tools" link inside the "Tools and Utilities" Section
-
Locate the Biometric Signature ID Building Block in the list of Installed Tools and change its state
More information on this process can be found in the Blackboard manuals on how to work with building blocks.
Note: Quick alternative is to disable the availability for all courses would be to uninstall and reinstall the building block.
Configuration
Before the BSI Building Block will work it needs to be configured:
-
Log into Learn 9.1 as a System Administrator
-
Navigate to the list of installed tools:
a. click on the "System Admin" tab
b. click on the "Building Blocks" link
c. click on the "Installed Tools" link
-
Locate the Biometric Signature ID Building Block in the list of Installed Tools and open the
"Settings"
page.
-
In the System Identification section of the Settings page enter the following details as provided by BSI:
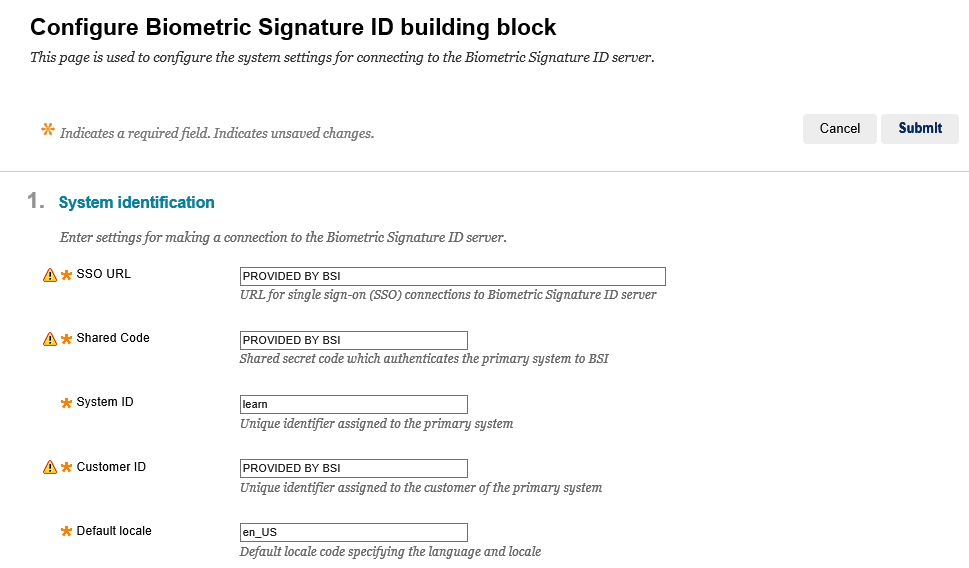
a. SSO URL - URL for single sign-on (SSO) connections to Biometric Signature ID server
b. Shared code - Shared secret code which authenticates the primary system to BSI
c. System ID - Unique identifier assigned to the primary system
d. Customer ID - Unique identifier assigned to the customer of the primary system
e. Default Locale - Default locale code specifying the language and locale (e.g. en_US)
-
In the Encryption Settings section of the Settings page enter the following details which are provided by BSI:
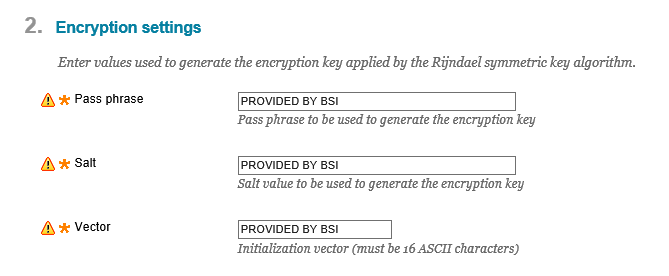
a. Pass phrase (to be used to generate the encryption key)
b. Salt value (to be used to generate the encryption key)
c. Initialization vector (must be 16 ASCII characters)
-
Optionally, in the Default content values section of the Settings page enter the following details:
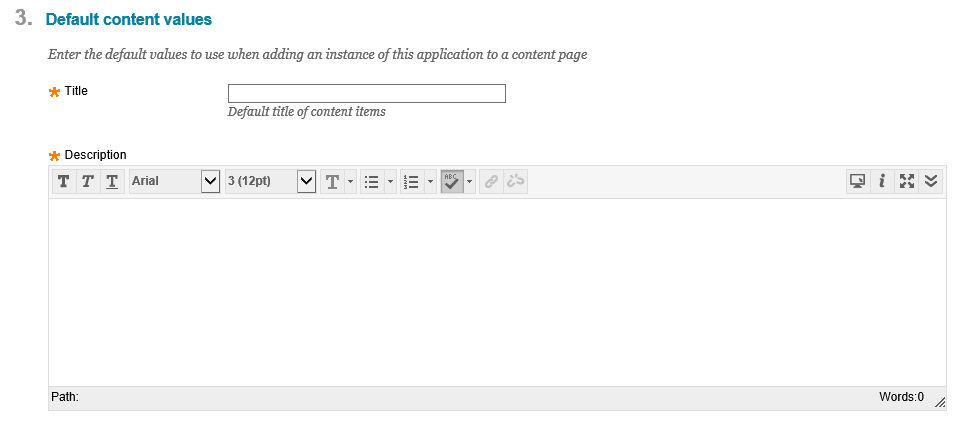
a. Title - default title of new instances
b. Description - default description of new instances
-
Additional settings can now be configured depending on how BioSig-ID is used within Blackboard:
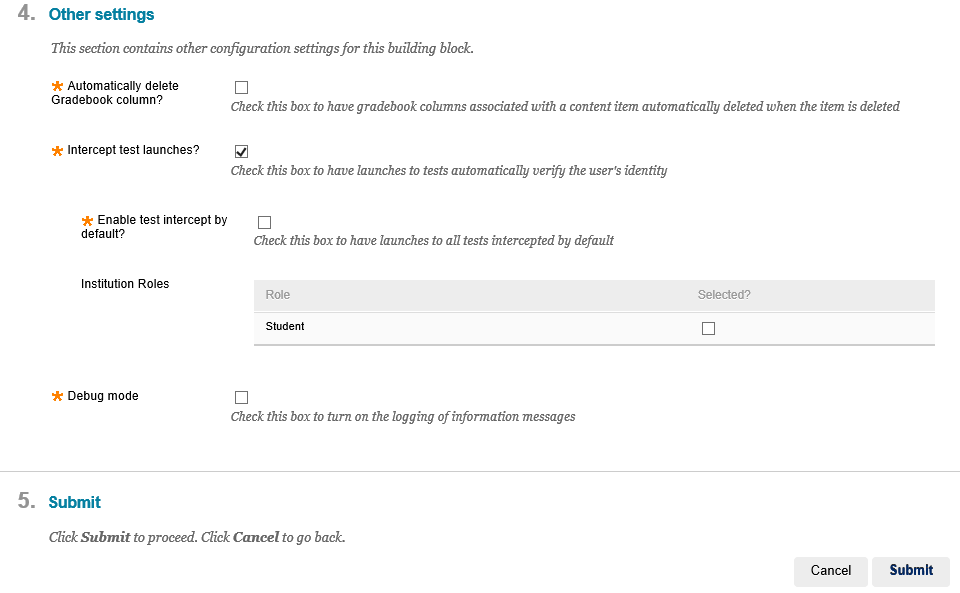
Automatically Delete Gradebook Item
Adding a BioSig-ID building block instance inside a course, via “Tools” drop-down menu, creates a corresponding grade book column for adaptive release conditions.
If this option is activated with a checkbox, then removing the “Biometric Signature ID” instance from a course will automatically delete the corresponding gradebook column at the same time.
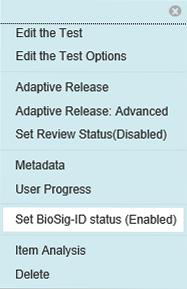
Intercept Test Launches
This option can be used concurrently with any adaptive released based instance, and will add a new setting in the drop-down menu for any quiz item or other supported course content item.
The new entry acts as “Set BioSig-ID status (current status)”, and results in:
|
“Set BioSig-ID status (Disabled)” == BioSig-ID is not used
“Set BioSig-ID status (Enabled)” == BioSig-ID will intercept the quiz before it starts
Changing the status is as easy as clicking on the entry in question to toggle between the two.
** If the option is not listed, then please verify that the building block is active for the course.
|
Enable Test Intercept by Default
Institution Roles
BioSig-ID can be limited to only be used by the “Role” entries selected in the listed table. If nothing is checked then *ALL* institution roles are active.
**This setting is inherited.
Debug Mode
Known Issues
Known Issues:
-
Setting a time/date adaptive conditions on a Blackboard item that is also relying on a BioSig-ID Tool instance to make it visible after the student validates their identity. Students become confused when they validate with BioSig-ID after the time has expired and nothing is shown. The easy solution is to place the item and the BioSig-ID tool instance inside a content folder and apply the date/time restrictions to that folder instead. Quiz intercept on a Blackboard test-assessment item would also solve this problem.
Support
For any updates to this document, or to consult others please review the Blackboard articles on this site.
You may create a support ticket on this page. Be sure to include as much information as possible to properly assist you as fast as possible
Students may request support via your existing
BioSig-ID Support Site, or use the “Help” link within the BioSig-ID page inside their course.
Related Articles
LTI 1.3 Installation Guide
The LTI 1.3/Advantage-Proctoring solution relies on the Ultra Extended Framework which only works on Ultra View courses in a Blackboard Ultra Navigation environment. That means access to the Admin section is achieved by the left-sided menu item that ...Canvas Installation Guide
Introduction Recently, BioSig-ID created an additional app that reduces the manual processes of creating guarded quizzes and tool instances. This app will allow you to efficiently create guarded quizzes, tool instances and instructions within your ...Moodle Installation (Module)
Introduction ATTENTION: Moodle 3.10+ requires BioSig-ID™ Moodle module v2020122400 or higher. The BioSig-ID™ Module for Moodle provides a mechanism by which a user may be redirected to BSI's BioSig-ID™ Identity verification system and the ...Schoology Installation
Follow these steps to set up an LTI External Tool in Schoology at the institution level: Click System Settings on the left menu of your System Admin home page Click Integration (directly below System Settings) in the left navigation Select External ...Moodle Installation (LTI)
Please follow the Moodle LTI instructions on adding BioSig-ID™ as an external tool. The LTI Consumer key, Shared secret, and Tool URL will be provided upon request to existing clients. The privacy settings as shown by the Moodle's instructions need ...